
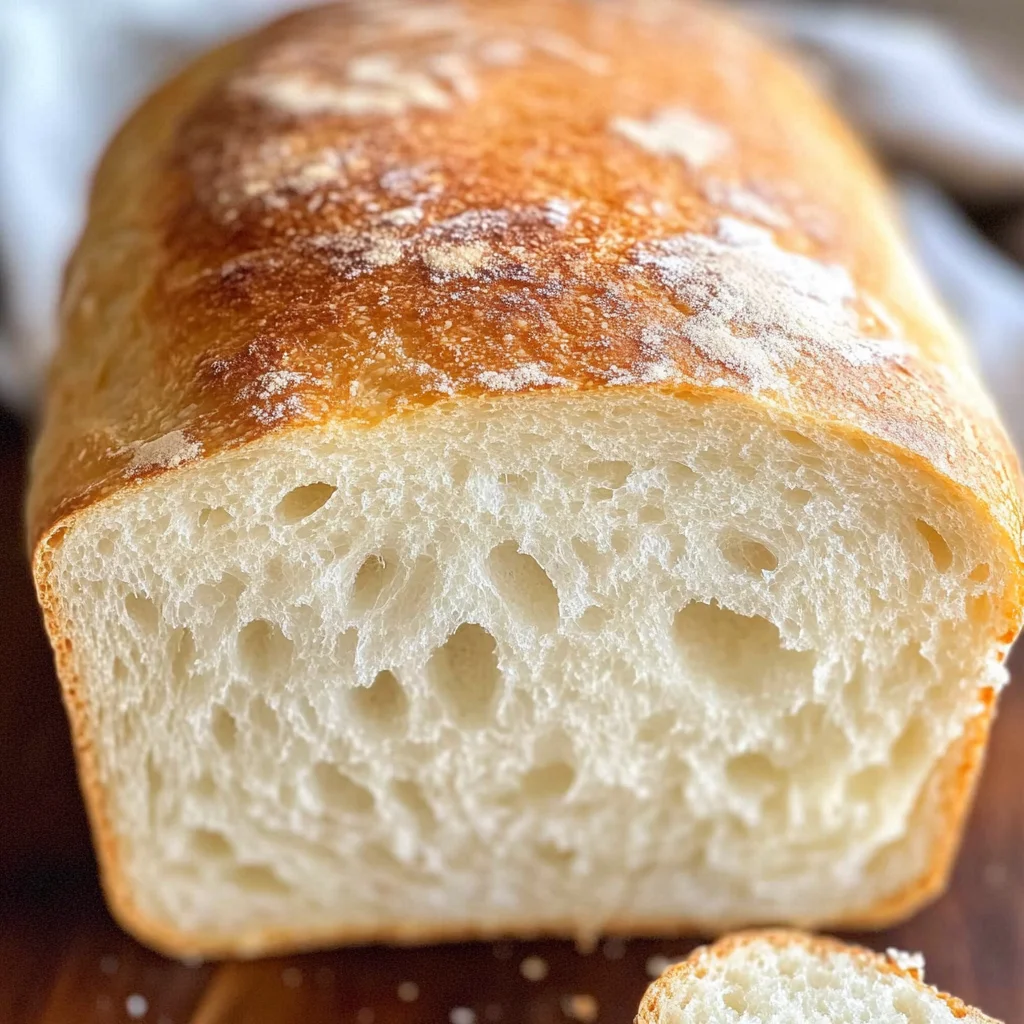
Look no further for the BEST and simplest Homemade Bread recipe made with just six simple pantry ingredients! This delightful white bread is perfect for sandwiches and freezes well too. Whether you’re hosting a gathering or enjoying a quiet family dinner, this bread adds a touch of warmth to any occasion. Its light texture and rich flavor make it a standout choice for all your baking needs.
Why You’ll Love This Recipe
- Simple Ingredients: Only six basic pantry items are needed, making it easy to whip up anytime.
- Versatile Use: Perfect for sandwiches, toast, or as a side with soups and salads.
- Freezes Well: Bake in bulk and store for later use without losing freshness.
- Beginner-Friendly: Clear instructions ensure that even novice bakers can succeed.
- Delicious Flavor: The combination of honey (or sugar) and yeast creates a sweet, warm taste.
Tools and Preparation
Before you begin your baking adventure, gather your tools. Having everything ready will streamline the process and make it more enjoyable.
Essential Tools and Equipment
- Large mixing bowl
- Stand mixer (optional)
- Measuring cups and spoons
- Loaf pans (9×5 inches)
- Dish towel or plastic wrap
- Wire cooling rack
Importance of Each Tool
- Large Mixing Bowl: Provides enough space to mix ingredients without spilling.
- Stand Mixer: Saves time and effort when kneading dough, ensuring consistent texture.
- Loaf Pans: Essential for shaping the bread; ensures even cooking and a nice shape.
Ingredients
For this easy Homemade Bread, you will need:
For the Dough
- 2 cups warm water (105-115 degrees) ((474g))
- 1 Tablespoon active dry yeast
- 1/4 cup honey or sugar ((85g honey, 50g sugar))
- 2 teaspoons salt
- 2 Tablespoons oil (canola or vegetable) ((30 ml))
- 4 – 5 1/2 cups all-purpose or bread flour ((500g-688g))
How to Make Homemade Bread
Step 1: Prepare the Dough
In a large bowl or stand mixer, add the yeast, warm water, and a pinch of sugar or honey. Allow it to rest for 5-10 minutes until foamy and bubbly. This step is essential as it proves the yeast’s activity. If there’s no foam, try again with fresh yeast.
Step 2: Combine Ingredients
Add the remaining honey or sugar, salt, oil, and 3 cups of flour to the bowl. Mix until combined.
Step 3: Adjust Flour Amount
Continue adding flour one-half cup at a time until the dough pulls away from the bowl’s sides. The dough should be smooth yet slightly tacky when touched.
Step 4: Knead the Dough
Mix on medium speed for about 4-5 minutes using your stand mixer. Alternatively, knead by hand on a floured surface for 5-8 minutes until elastic.
Step 5: First Rise
Grease a large bowl with oil or cooking spray. Place the dough inside, turning it to coat. Cover with a dish towel or plastic wrap. Let it rise in a warm spot until doubled in size (about 1.5 hours).
Step 6: Prepare Pans
Generously spray two 9×5 inch loaf pans with cooking spray on all sides. Optionally line with parchment paper at the bottom for easier removal.
Step 7: Shape the Dough
Punch down the risen dough to release air bubbles. Divide into two equal portions and shape each into logs before placing them in greased pans.
Step 8: Second Rise
Cover loaf pans lightly with a dish towel or oiled plastic wrap. Let rise again for about 45 minutes to an hour until they rise about an inch above the pan edges.
Step 9: Bake
Preheat your oven to 350°F (175°C). Bake bread for around 30-33 minutes until golden brown on top. A gentle tap should sound hollow.
Step 10: Cool Down
Invert loaves onto a wire cooling rack after baking. Brush tops with butter if desired, then allow them to cool for at least ten minutes before slicing.
Step 11: Storage
Once fully cooled, store your homemade bread in an airtight container or bag at room temperature for up to three days; it can last five days in the refrigerator.
Enjoy making your Homemade Bread, perfect for sandwiches or as a comforting side dish!
How to Serve Homemade Bread
Homemade bread is versatile and can be enjoyed in various ways. Whether you want to complement a meal or have a snack, here are some delightful serving suggestions.
With Butter and Jam
- Spread a generous layer of butter on warm slices and top with your favorite fruit jam for a classic treat.
As Toast
- Toast slices until golden brown and serve with avocado, eggs, or a sprinkle of cinnamon sugar for breakfast.
With Soup
- Pair fresh bread with a hearty soup, like tomato basil or vegetable minestrone, for a comforting meal.
In Sandwiches
- Use slices of homemade bread to create delicious sandwiches filled with your choice of meats, cheeses, and veggies.
For Dipping
- Cut the bread into chunks and serve alongside olive oil or balsamic vinegar for dipping at parties.
With Cheese Platter
- Arrange slices of homemade bread on a cheese platter to complement a variety of cheeses and fruits.
How to Perfect Homemade Bread
Creating perfect homemade bread is an art that can be mastered with some tips. Here are key points to keep in mind for success every time.
Use Fresh Yeast: Ensure your yeast is fresh and active by proofing it in warm water before mixing it with other ingredients.
Measure Accurately: Use precise measurements for flour and liquids to achieve the right dough consistency.
Knead Properly: Knead the dough until it’s smooth and elastic; this develops gluten, which is essential for the bread structure.
Control Temperature: Allow the dough to rise in a warm environment; this helps the yeast work effectively.
Avoid Overbaking: Keep an eye on baking time; tap the loaf’s top for a hollow sound indicating it’s done without overbaking.
Cool Before Slicing: Let the bread cool completely on a rack before slicing to maintain its texture and moisture.
Best Side Dishes for Homemade Bread
Homemade bread pairs beautifully with many side dishes. Here are some excellent options to consider when serving your freshly baked loaves.
Garden Salad: A light salad with mixed greens and vinaigrette complements the richness of homemade bread.
Roasted Vegetables: Seasoned roasted veggies add flavor and nutrition that balance out the softness of the bread.
Garlic Mashed Potatoes: Creamy mashed potatoes provide comfort food vibes alongside warm slices of bread.
Marinated Olives: A small bowl of marinated olives offers a salty contrast that enhances the taste experience.
Hummus Platter: A variety of hummus flavors served with veggie sticks makes for healthy snacking alongside your homemade loaf.
Stuffed Peppers: Colorful stuffed peppers filled with rice and spices create an appealing dish that pairs well with crusty slices of bread.
Caprese Skewers: Fresh mozzarella, basil, and tomatoes drizzled with balsamic make fun bite-sized snacks next to your homemade creation.
Baked Zucchini Fries: Crispy zucchini fries provide a crunchy texture that contrasts nicely with soft homemade bread.
Common Mistakes to Avoid
Making homemade bread can be a rewarding experience, but beginners often encounter a few common pitfalls. Here are some mistakes to watch out for:
- Incorrect yeast proofing: Failing to properly proof the yeast can lead to flat bread. Always check if your yeast is bubbly after resting in warm water with sugar before proceeding.
- Ignoring dough texture: A dough that is too sticky or dry will not rise well. Adjust flour gradually until the dough is smooth and slightly tacky.
- Skipping the first rise: Rushing through the rising process can affect the bread’s texture. Be patient and let the dough double in size for optimal results.
- Inaccurate oven temperature: Baking at the wrong temperature can result in unevenly baked bread. Use an oven thermometer to ensure accuracy.
- Not allowing for cooling time: Slicing bread too soon can make it gummy. Let your loaves cool completely on a rack before cutting.
Storage & Reheating Instructions
Refrigerator Storage
- Store your homemade bread in an airtight container or bag.
- It will last up to 5 days in the refrigerator.
Freezing Homemade Bread
- Wrap the cooled loaves tightly in plastic wrap, then place them in a freezer-safe bag.
- Homemade bread can be frozen for up to 3 months.
Reheating Homemade Bread
- Oven: Preheat to 350°F, wrap the bread in foil, and heat for about 10-15 minutes.
- Microwave: Place slices on a microwave-safe plate and cover with a damp paper towel; heat for 10-15 seconds until warm.
- Stovetop: Heat slices on a skillet over medium heat, flipping once until golden brown.
Frequently Asked Questions
Here are some common questions about making homemade bread that many beginner bakers have:
How can I tell if my Homemade Bread has risen enough?
If your dough has doubled in size during the first rise, it’s ready. You can also do the poke test by gently pressing your finger into the dough; it should spring back slowly.
Can I use whole wheat flour instead of all-purpose flour?
Yes, you can substitute whole wheat flour, but it may require additional water as it absorbs more moisture than all-purpose flour.
Why did my Homemade Bread turn out dense?
A dense loaf may result from not kneading enough or using old yeast that didn’t activate properly. Make sure your ingredients are fresh and knead until elastic.
What can I add to customize my Homemade Bread?
You can incorporate herbs, seeds, nuts, or dried fruits into your dough for added flavor and texture. Just keep an eye on total flour content when adding extras.
How long does Homemade Bread last?
When stored properly, homemade bread can last up to 5 days at room temperature or up to 3 months in the freezer.
Final Thoughts
This Homemade Bread recipe is simple yet incredibly versatile. It’s perfect for sandwiches, toast, or even just enjoying warm with butter. Feel free to customize with herbs or seeds to suit your taste!

Homemade Bread
If you’re craving the comforting aroma and taste of fresh-baked bread, this Homemade Bread recipe is your go-to solution. Made with just six simple pantry ingredients, this recipe yields a light and fluffy loaf that’s perfect for sandwiches, toast, or simply slathered with butter. The combination of warm water, yeast, and a hint of sweetness creates a delightful flavor profile that will elevate any meal. Whether you’re a novice baker or an experienced cook, these straightforward instructions guide you through creating a delicious homemade loaf that freezes beautifully for later enjoyment.
- Total Time: 50 minutes
- Yield: Approximately 16 slices 1x
Ingredients
- 2 cups warm water (105–115 degrees)
- 1 tablespoon active dry yeast
- 1/4 cup honey or sugar
- 2 teaspoons salt
- 2 tablespoons oil (canola or vegetable)
- 4 – 5 1/2 cups all-purpose flour
Instructions
- In a large bowl or stand mixer, combine warm water, yeast, and a pinch of honey or sugar. Let it rest for 5-10 minutes until foamy.
- Add the remaining honey or sugar, salt, oil, and 3 cups of flour to the mixture. Stir until combined.
- Gradually add flour until the dough pulls away from the sides of the bowl and feels smooth yet slightly tacky.
- Knead the dough by hand or using a stand mixer for about 4-5 minutes until elastic.
- Place the dough in an oiled bowl, cover it with a towel or plastic wrap, and let it rise in a warm spot until doubled in size (about 1.5 hours).
- Shape the risen dough into logs and place them in greased loaf pans.
- Allow to rise again for about 45 minutes to an hour.
- Preheat oven to 350°F (175°C) and bake for about 30-33 minutes until golden brown.
- Prep Time: 20 minutes
- Cook Time: 30 minutes
- Category: Bread
- Method: Baking
- Cuisine: American
Nutrition
- Serving Size: 1 slice (40g)
- Calories: 100
- Sugar: 2g
- Sodium: 150mg
- Fat: 2g
- Saturated Fat: 0g
- Unsaturated Fat: 1g
- Trans Fat: 0g
- Carbohydrates: 18g
- Fiber: 1g
- Protein: 3g
- Cholesterol: 0mg