
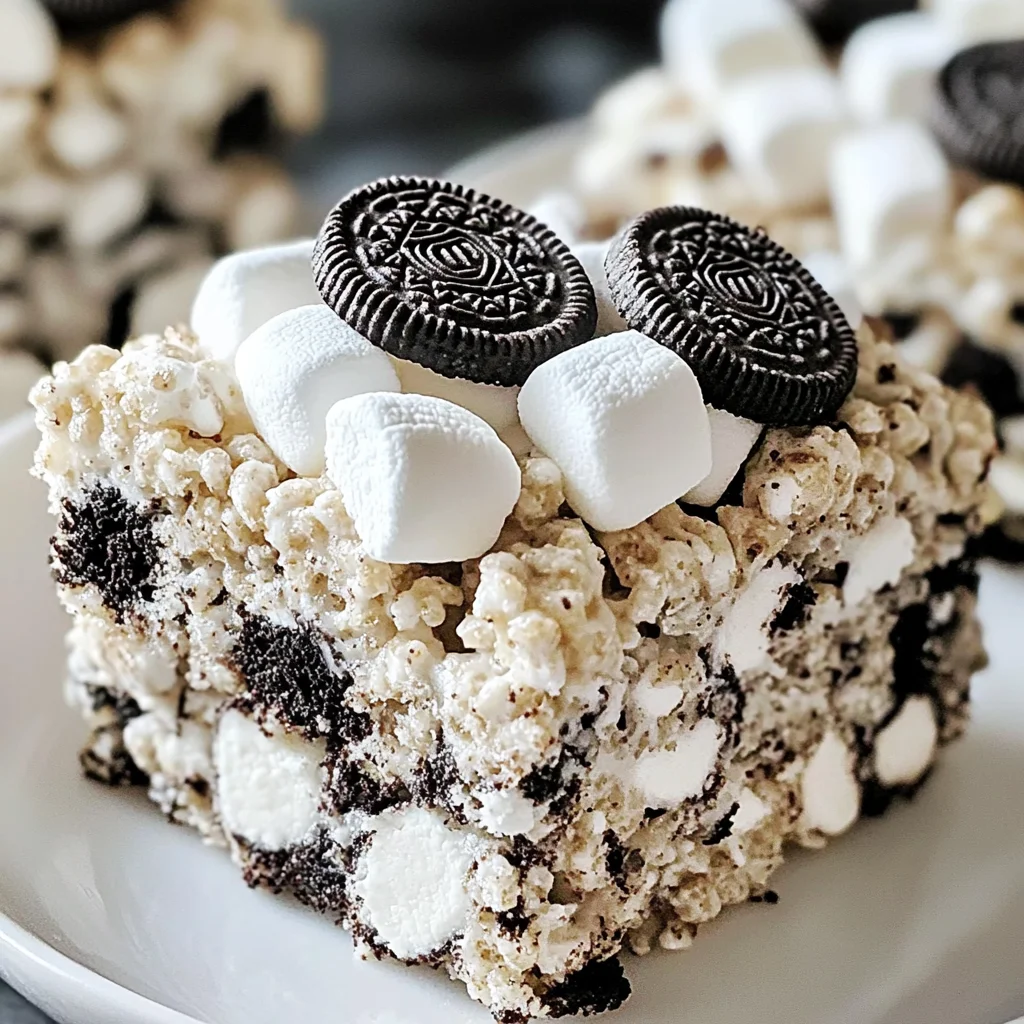
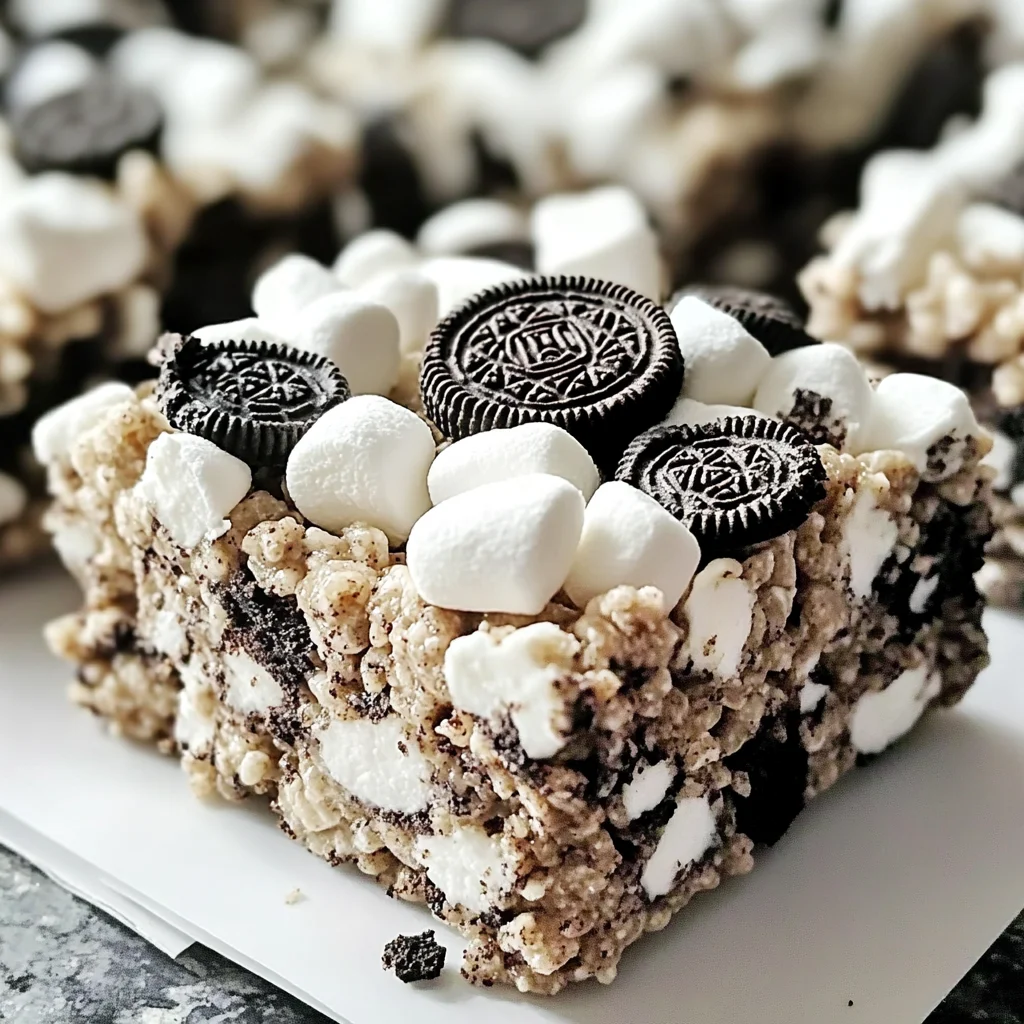
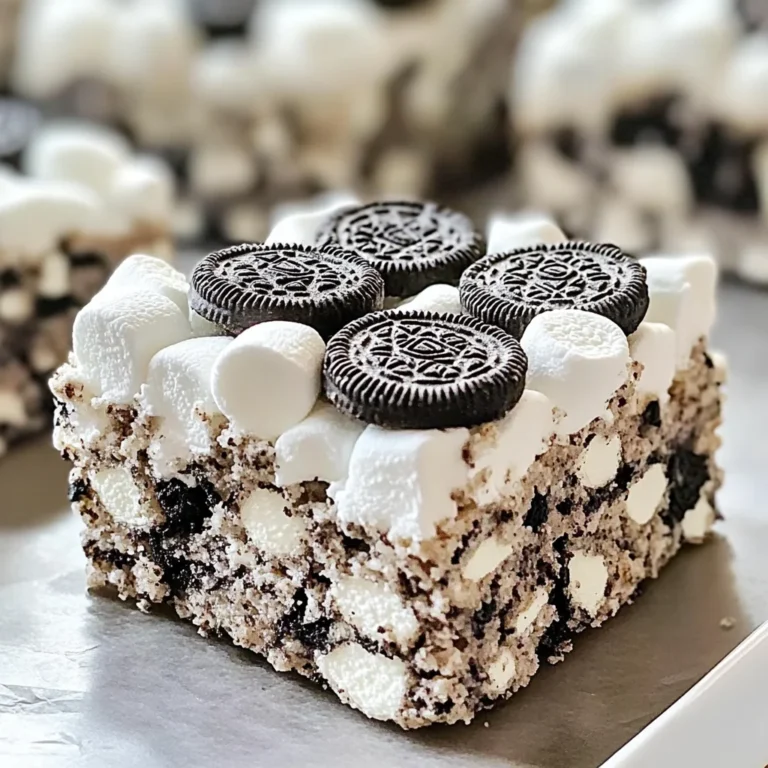
Indulge in Oreo Krispies: Irresistibly Chewy No-Bake Delight, where you can enjoy a heavenly mix of Rice Krispies and Oreos. This delightful treat is perfect for any occasion, whether you’re hosting a party, looking for a family-friendly snack, or simply craving something sweet. The chewy texture combined with the rich flavor of Oreo cookies makes these bars an irresistible option for dessert lovers.
Why You’ll Love This Recipe
- Quick to Prepare: With just 10 minutes of prep time, you can whip up this delicious treat without baking.
- Crowd-Pleaser: Everyone loves the classic flavor combination of cookies and cream, making it great for gatherings.
- Family-Friendly Fun: Kids will enjoy helping out in the kitchen while creating these tasty snacks.
- Versatile Ingredients: Feel free to substitute ingredients based on what you have at home, keeping it flexible.
- No-Bake Convenience: Save your oven for other meals; this recipe requires no baking whatsoever!
Tools and Preparation
Before diving into the recipe, gather your tools to ensure a smooth cooking experience. Having everything ready will help you make these Oreo Krispies effortlessly.
Essential Tools and Equipment
- Large mixing bowl
- Saucepan
- Spatula or wooden spoon
- Baking pan (9×13 inches)
- Parchment paper (optional)
Importance of Each Tool
- Large mixing bowl: Provides ample space to mix all your ingredients thoroughly without spilling.
- Saucepan: Essential for melting the butter and marshmallows together evenly, creating a gooey base.
- Spatula or wooden spoon: Helps combine ingredients well and ensures even distribution throughout the mixture.
Ingredients
Indulge in these Oreo Krispies, a chewy no-bake delight combining Rice Krispies and Oreos for a crowd-pleasing treat.
For the Base
- 4 tablespoons Butter (Use salted for perfect balance.)
- 8 cups Mini vegan marshmallows (Use regular if you cut them down.)
- 6 cups Krispie Cereal (Other puffed cereals can be used.)
For Flavor and Texture
- 1 cup Oreo Cookies (Use whole for maximum flavor.)
- 1 pinch Salt (Skip if using salted butter.)
How to Make Oreo Krispies: Irresistibly Chewy No-Bake Delight
Step 1: Melt the Butter and Marshmallows
In a saucepan over medium heat:
1. Add the butter, allowing it to melt slowly.
2. Once melted, add the mini marshmallows, stirring continuously until fully melted and smooth.
Step 2: Combine with Cereal
- In a large mixing bowl, add the Krispie cereal.
- Pour the melted butter and marshmallow mixture over the cereal.
- Gently fold them together with a spatula until all cereal is coated evenly.
Step 3: Add Oreos
- Break the Oreo cookies into smaller pieces (not too fine).
- Fold them into the mixture until well distributed.
Step 4: Transfer to Baking Pan
- Line your baking pan with parchment paper for easy removal (optional).
- Pour the mixture into the pan and press it down firmly using your hands or spatula to create an even layer.
Step 5: Set and Serve
- Allow the mixture to cool at room temperature for about 30 minutes.
- Once set, cut into squares and serve your delicious Oreo Krispies!
How to Serve Oreo Krispies: Irresistibly Chewy No-Bake Delight
Oreo Krispies are perfect for any occasion, from family gatherings to casual movie nights. These delightful treats can be served in various ways to suit your event.
Fun on a Stick
- Use skewers or popsicle sticks to create fun Oreo Krispies pops. This makes them easy to grab and enjoy!
Individual Cups
- Serve Oreo Krispies in small cups for a cute presentation. Add a dollop of whipped cream or a sprinkle of crushed Oreos on top for extra flair.
Party Platter
- Arrange the squares on a large platter with other snacks. Include fruit, nuts, or popcorn for a balanced treat table.
Dessert Bar
- Create a DIY dessert bar with toppings like chocolate drizzle, sprinkles, or mini chocolate chips. Let guests customize their own Oreo Krispies.
How to Perfect Oreo Krispies: Irresistibly Chewy No-Bake Delight
Achieving the ideal texture and flavor for your Oreo Krispies is key. Here are some essential tips for perfection.
Use Fresh Ingredients: Ensure your marshmallows and butter are fresh for optimal flavor and texture.
Mix Gently: When combining the ingredients, stir slowly to avoid crushing the Oreos too much; you want chunks for added texture.
Cool Before Cutting: Allow the mixture to cool slightly before cutting into squares. This helps them hold their shape better.
Store Properly: Keep leftover Oreo Krispies in an airtight container to maintain their chewiness and freshness.
Best Side Dishes for Oreo Krispies: Irresistibly Chewy No-Bake Delight
Pairing side dishes with your Oreo Krispies can enhance your dessert experience. Consider these delightful options:
Fruit Salad: A refreshing mix of seasonal fruits adds a light contrast to the rich Oreo Krispies.
Veggie Platter: Crunchy vegetables with hummus provide a healthy counterbalance to the sweetness of the treats.
Cheese Board: A selection of cheeses, crackers, and dried fruits creates an appealing savory-sweet combination.
Popcorn: Sweet or savory popcorn offers a fun snack that complements the chewy texture of Oreo Krispies.
Ice Cream: A scoop of vanilla or chocolate ice cream pairs beautifully with the chewy treats for an indulgent dessert experience.
Chocolate-Covered Pretzels: The salty crunch of pretzels dipped in chocolate makes an excellent snack alongside your Oreo Krispies.
Granola Bars: Homemade granola bars can offer a nutritious option that balances out the sweetness while keeping things easy to eat.
Smoothies: A fruity smoothie can provide hydration and complement the flavors of your delicious no-bake dessert.
Common Mistakes to Avoid
Avoiding common mistakes will elevate your Oreo Krispies to the next level. Here are a few pitfalls to watch out for:
Boldly skip measuring: Not measuring ingredients accurately can lead to a failed texture. Always use the correct measurements for butter, marshmallows, and cereal for the best results.
Boldly rush the mixing: If you don’t mix the ingredients thoroughly, you’ll end up with uneven distribution. Take your time to ensure everything is well combined for that perfect chewy delight.
Boldly ignore cooling time: Not letting the mixture cool properly before cutting can result in messy squares. Allow it to set for at least 30 minutes before slicing into squares.
Boldly overlook butter choice: Using unsalted butter may lead to a bland flavor. Opt for salted butter to enhance the overall taste of your Oreo Krispies.
Boldly forget about storage: Neglecting proper storage will lead to stale treats. Store them in an airtight container at room temperature to maintain freshness.
Storage & Reheating Instructions
Refrigerator Storage
- Store Oreo Krispies in an airtight container.
- They can last up to one week in the fridge.
Freezing Oreo Krispies: Irresistibly Chewy No-Bake Delight
- Cut into squares before freezing for easy handling.
- Wrap each piece in plastic wrap and place them in a freezer-safe bag.
- They can be frozen for up to three months.
Reheating Oreo Krispies: Irresistibly Chewy No-Bake Delight
- Oven: Preheat to 350°F (175°C). Bake for about 10 minutes until warm.
- Microwave: Heat a square on medium power for about 15 seconds until soft.
- Stovetop: Place on low heat in a non-stick pan, flipping occasionally until warmed through.
Frequently Asked Questions
Here are some common questions about making Oreo Krispies:
What makes these Oreo Krispies irresistibly chewy?
The combination of melted mini marshmallows and butter creates a perfectly chewy texture that pairs beautifully with crunchy Rice Krispies and Oreos.
Can I use different cereals for this recipe?
Yes! While Rice Krispies work best, you can substitute with other puffed cereals like corn puffs or even granola for added flavor and texture.
How should I store leftover Oreo Krispies?
Store them in an airtight container at room temperature for up to one week or freeze them for longer storage.
Can I customize my Oreo Krispies?
Absolutely! Feel free to add nuts, dried fruits, or even different cookie varieties to create your unique twist on this classic treat.
Final Thoughts
These Oreo Krispies are not just irresistibly chewy; they are also incredibly versatile. You can customize them with various mix-ins or adapt the recipe according to your preferences. Try making these delightful treats today, and enjoy a no-bake dessert that’s sure to please everyone!
Oreo Krispies: Irresistibly Chewy No-Bake Delight
Indulge in the delight of Oreo Krispies, a chewy no-bake dessert that perfectly combines the classic flavors of Rice Krispies and Oreo cookies. This easy-to-make treat is ready in just 10 minutes and requires no baking, making it an ideal choice for parties, family movie nights, or satisfying your sweet tooth. With a rich, creamy texture and a crunchy finish, these bars are bound to be a hit with everyone. Plus, they’re customizable: mix in your favorite ingredients to create your own unique twist. Enjoy the fun of making these delicious treats with the whole family!
- Total Time: 10 minutes
- Yield: Approximately 16 servings 1x
Ingredients
- 4 tablespoons salted butter
- 8 cups mini vegan marshmallows
- 6 cups Rice Krispie cereal
- 1 cup Oreo cookies (broken into pieces)
- 1 pinch salt (optional)
Instructions
- In a saucepan over medium heat, melt the butter. Once melted, add the mini vegan marshmallows and stir until fully melted and smooth.
- In a large mixing bowl, combine the Rice Krispie cereal. Pour the melted mixture over the cereal and gently fold until well coated.
- Add the broken Oreo cookies and mix until evenly distributed.
- Line a 9×13 inch baking pan with parchment paper (optional). Transfer the mixture to the pan and press down firmly to create an even layer.
- Allow to cool at room temperature for about 30 minutes before cutting into squares.
- Prep Time: 10 minutes
- Cook Time: 0 minutes
- Category: Dessert
- Method: No-Bake
- Cuisine: American
Nutrition
- Serving Size: 1 square (40g)
- Calories: 150
- Sugar: 12g
- Sodium: 50mg
- Fat: 5g
- Saturated Fat: 3g
- Unsaturated Fat: 2g
- Trans Fat: 0g
- Carbohydrates: 24g
- Fiber: 0g
- Protein: 1g
- Cholesterol: 0mg